
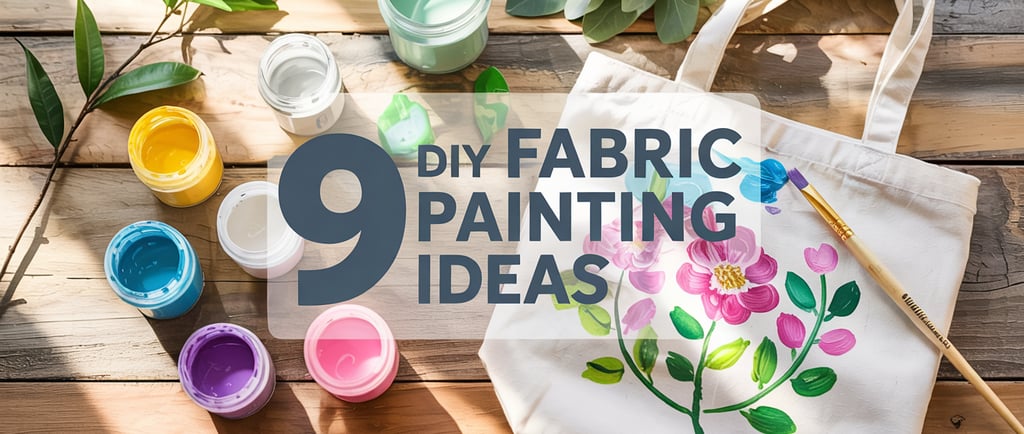
9 Ideas for How to Paint Fabric for Stunning DIY Projects
Discover 9 creative and easy ways to paint fabric that will take your DIY projects to the next level. From wearable art to home decor, these ideas are fun, affordable, and beginner-friendly.
4/8/20254 min read
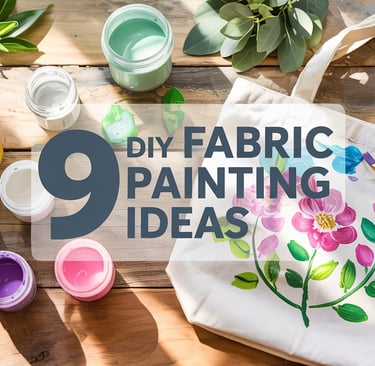
9 Ideas for How to Paint Fabric for Stunning DIY Projects
Let’s be honest—fabric painting can feel intimidating at first. But once you get started, it opens up a whole new world of customization and creativity. Whether you’re revamping an old T-shirt, adding flair to your curtains, or turning a canvas tote into a masterpiece, fabric painting is a surprisingly simple way to make something truly your own.
In this blog, you’ll find 9 creative and beginner-friendly ways to paint fabric that are affordable, fun, and visually stunning. Plus, I’ll walk you through what you might need and give you step-by-step directions, so you feel like you’re crafting with a friend over coffee.
What You Might Need:
Fabric-safe paints (acrylic + textile medium or fabric paint)
Paintbrushes, sponges, or stamps
Painter’s tape or stencils
Iron or heat source (for setting)
Drop cloth or cardboard (to protect surfaces)
Water, paper towels, and an apron
Highly-Rated Products to Help You Paint Fabric Like a Pro
Before you dive in, here are 5 of the highest-rated fabric painting products on Amazon to make your DIY journey smoother, bolder, and way more fun. Each one is beginner-friendly, budget-conscious, and perfect for the ideas listed above.
Tulip Soft Fabric Paint Set
A go-to favorite for vibrant, long-lasting color. This set includes multiple hues that work great for blending and layering.Amazon Link to Tie Die https://amzn.to/4ln0SwD (affiliate)
Amazon Link to Fabric Paint: https://amzn.to/42kqUrA (affiliate)
Jacquard Textile Color Starter Set
A professional-quality paint that’s still easy enough for beginners. These paints are soft, permanent, and won't crack.Amazon Link to Textile Paint: https://amzn.to/4czeT6s (affiliate)
Amazon Link to Flourescent Colors: https://amzn.to/422rUSi
Amazon Link to Metallics: https://amzn.to/3G1KVvv
Fabric Creations Block Printing Kits
If block printing caught your eye, this is the starter kit you'll want. Comes with tools and inks specially made for fabric.Amazon Link to Block Printing Kit: https://amzn.to/3EapaJw
Amazon Link to Block Printing Kit: https://amzn.to/4cvBwbY
FolkArt Fabric Stencil Set
Includes trendy designs for pillows, totes, and more—no artistic skill required!Amazon Link to Stencil Set: https://amzn.to/3RcAKGV
Additional Stencil Set: https://amzn.to/3RGiXYM
Tulip Dimensional Fabric Paint Pens
Great for freehand lettering or adding texture. These pens give you more control than brushes.
💡 Tip: You can pair these with cotton totes, pillowcases, or plain tees for an easy, stylish start!
Amazon Link to Tulip Fabric Markers: https://amzn.to/4j18bIz
Amazon Link to Tulip Fabric Markers: https://amzn.to/3G23UpN
As an Amazon Associate, I may earn from qualifying purchases, at no extra cost to you. Thanks for supporting this blog!
1. Ombre Dye Effect
Start with a dreamy gradient.
To create an ombre effect, wet your fabric slightly and start applying paint from the bottom up, gradually lightening the color as you go. Blend with a damp brush to soften the transitions. This method works beautifully on pillow covers, tea towels, or even skirts.
Tip: Use painter’s tape to block off clean lines if you only want the bottom part of your fabric to be ombre.
Picture This: A soft pink tea towel fading into white, hanging gently from a rustic wooden hook in a cozy kitchen.
2. Stencil It Up
Crisp, clean, and totally customizable.
Use store-bought or DIY stencils to apply patterns with fabric paint. Tape the stencil down, dab your paint on using a sponge (don’t brush it!), and slowly lift to reveal your design.
Tip: Try geometric shapes, florals, or even words for a farmhouse-style pillow or a graphic tee.
Picture This: A natural canvas tote featuring leafy green stenciled vines, resting next to a wicker basket at the farmer’s market.
3. Block Printing
Old-school, high-style.
Carve a simple design into a rubber stamp or use pre-made ones, dip into fabric paint, and press onto your fabric for a repeating pattern. This technique gives you that artsy, handmade vibe.
Tip: Test the pattern on scrap fabric first to get the pressure just right.
Picture This: A linen table runner printed with soft blue botanical leaves, set underneath a steaming teapot and homemade scones.
4. Splatter Painting
Channel your inner Jackson Pollock.
Protect your workspace, then flick and drip different colors across your fabric for a modern, edgy effect. Use an old toothbrush, chopstick, or flick your paintbrush with quick motions.
Tip: Stick to a color palette so it feels intentional, not messy.
Picture This: A white canvas pouch splattered with muted pastels, zipped open to reveal art supplies peeking out.
5. Freehand Florals
Let your brush bloom.
If you enjoy painting, skip the stencils and go freehand! Florals, vines, or whimsical doodles add a romantic, cottagecore feel to any fabric item.
Tip: Lightly sketch with chalk first, then go over with paint. Don’t stress about perfection—organic is beautiful!
Picture This: A thrifted denim jacket with hand-painted roses blooming along the sleeves and back.
6. Tie-Dye with a Twist
Paint, twist, and fold.
Instead of traditional dye, use diluted fabric paint to tie-dye your items. Twist your fabric into spirals, bind with rubber bands, then use paint to color the sections. It gives a more controlled look than classic tie-dye.
Tip: Use squeeze bottles for precision and wear gloves!
Picture This: A baby onesie dyed in gentle greens and yellows, drying on a line under a spring sky.
7. Watercolor Wash
Soft, dreamy, and delicate.
Mix fabric paint with water for a watercolor look. Apply it to damp fabric in sweeping strokes and let the colors bleed into each other. Gorgeous on scarves or pillowcases!
Tip: Let each layer dry before adding more to avoid muddiness.
Picture This: A flowing fabric banner with soft lilac, blush, and sage tones waving in the breeze.
8. Quote It
Say it with style.
Use stencils or freehand lettering to paint your favorite quote or phrase. Perfect for wall hangings, shirts, or reusable grocery bags.
Tip: Outline your words with a fabric marker for extra clarity.
Picture This: A neutral wall banner that reads “Choose Joy” in a bold, artsy font, surrounded by hanging greenery.
9. Resist Painting with Glue or Wax
Let the negative space shine.
Draw your design with washable glue (or wax for advanced DIYers), then paint over it. Once dry, rinse off the glue and reveal the untouched fabric beneath—like magic!
Tip: Works great for tribal prints or abstract art.
Picture This: A navy throw pillow with white tribal patterns popping through painted strokes, perfectly styled on a cozy reading chair.
Final Thoughts
Fabric painting is one of those crafts that instantly makes you feel more creative. Whether you’re dressing up your wardrobe or your home, these 9 ideas will give your projects heart, style, and charm. Start simple, experiment with techniques, and most importantly—have fun! Your next favorite creation might be one brushstroke away.