
Homemade Gingerbread Ornaments
Learn how to make easy, fragrant, 3-ingredient gingerbread ornaments that bring cozy cottage-style charm to your Christmas tree. Includes recipe, step-by-step instructions, tips, and cottagecore imagery inspiration.
11/19/20252 min read
Homemade Gingerbread Ornaments: A Cozy Christmas Craft for Every Family
A Cozy Christmas Craft Everyone Loves
There’s something magical about a Christmas craft that makes your home look festive and smell like cinnamon heaven at the same time. These homemade gingerbread ornaments do exactly that. With just a few pantry items and a sprinkle of creativity, you can create warm, rustic decorations that feel handmade, heartfelt, and beautifully old-fashioned.
Whether you’re planning a family craft night, stocking up for teacher gifts, or creating keepsakes for your tree, this charming recipe brings all the cozy cottagecore vibes your readers crave. Simple, budget-friendly, and absolutely delightful — this is the kind of Christmas craft that becomes a tradition.
What You’ll Need
1 cup applesauce
1 cup ground cinnamon
2 tbsp white school glue (optional — improves durability)
Parchment paper
Rolling pin
Cookie cutters
Straw (for ribbon holes)
Twine, ribbon, or string
Paint or puff paint (optional for decorating)
How to Make Gingerbread Ornaments
(Step-By-Step)
1. Mix Your Dough — The Cinnamon Magic Begins
In a medium bowl, combine applesauce and cinnamon until a thick dough forms. Add more cinnamon if it’s sticky, or more applesauce if it’s crumbly.
Tip: Add 2 tbsp of school glue for ornaments that hold up year after year.
2. Roll Out Smooth & Even
Place your dough between two sheets of parchment paper and roll it out to about ¼ inch thick. This keeps your rolling pin clean and gives the ornaments a rustic, natural texture.
3. Cut Out Shapes That Bring Joy
Use cookie cutters — gingerbread men, stars, snowflakes, hearts, or woodland shapes. Gently lift each piece onto a parchment-lined baking sheet.
4. Make a Hole for Hanging
Use a straw to punch a clean, perfect hole at the top of each ornament. This is where your twine or ribbon will go.
5. Dry or Bake — Both Work Beautifully
Bake at 200°F for 2–3 hours or let them air-dry for 24–48 hours. When fully dry, they’ll be rock-solid and smell incredible.
6. Decorate or Keep Them Beautifully Rustic
Leave them simple for a cottagecore look, or add white puff paint touches, bows, glitter, or names. Kids especially love decorating them!
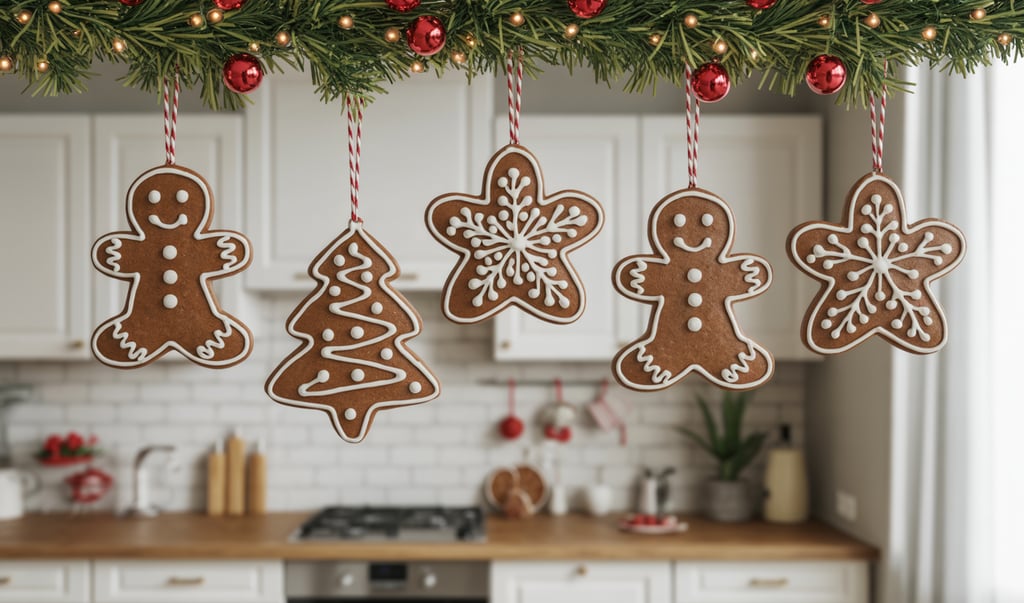
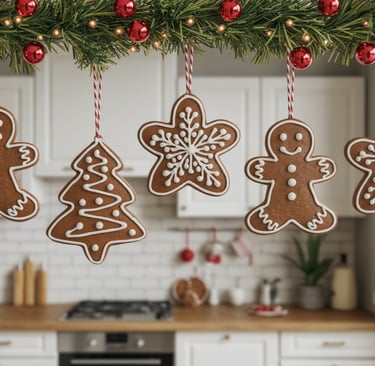
Picture This:
A warm cottage kitchen filled with soft, golden light. Cinnamon-dusted ornaments drying gently on parchment paper beside sprigs of fir and twine. A wooden rolling pin rests next to metal cookie cutters, and the whole room smells like holiday magic. These little handmade ornaments — simple, imperfect, and heartfelt — hang on your tree like treasures from a storybook Christmas.
Shop the Look~
Here are helpful Amazon lists your readers can use for tools, craft accents, and cozy Christmas styling:
Christmas Gifts & Decor — https://www.amazon.com/shop/gingerallisunshine/list/3V37R1SIJAAQO
Cottagecore Home — https://www.amazon.com/shop/gingerallisunshine/list/1BGDS0K6XFAED
Kitchen Essentials (rolling pin, parchment, etc.) — https://www.amazon.com/shop/gingerallisunshine/list/R807LZCDK73K
Neutral Home Décor (for styled photos & backgrounds) — https://www.amazon.com/shop/gingerallisunshine/list/3RNHOA6NVTOSJ